PLEASE NOTE: THIS BLOG HAS MOVED TO PACIFICSAILORS.COM

Camille is for Sale

LOCATION :: San Diego, California :: Map of Current Location :: Past Anchorages
CURRENTS :: Follow us on Facebook for daily updates and photos
Showing posts with label Boat Projects. Show all posts

Sunday, December 1, 2013

Favorite Boat Gear under $20


Here is a little list of items under $20 we use everyday. If you buy anything from Amazon after clicking on one of these links we get a small kick-back and you get the same low Amazon price as always. Thanks for clicking through us! For more of our favorite items (over $20) visit our Gear page. Stay tuned for more in a few days. Happy Holidays!


 Laundry Dryer - $7 - Great for small personal items you might not want to hang on the rail for the world to see. Folds up like an umbrella.


Removable Hooks - $7 - If I need a hook I add it, if it's in the wrong place, I move it. Simple, strong and no holes in the boat. I found that you need to wait a few hours before hanging really heavy items.


Traction Socks - $10 - Sometimes my feet get chilly but slippery socks can be dangerous on a boat. These socks have little rubber nubs on the bottom.


Quakehold - $5 - I use this to secure picture frames, shells and other decorative items. Sticks well and doesn't leave a sticky residue when you want to remove it.


Dinghy Tub/Basket - $14 - We use it to transport all of our gear in the dinghy - sandy towels, snorkel gear, etc. Easy to rinse the sand off the bottom and keeps things from sliding all over the dinghy floor.


Outdoor Blanket - $ - Great for chilly and damp nights in the cockpit. The outside can get wet, yet the inside stays dry.


Memoryfoam Bathmats - $15 - Very cushy on the feet and non-skid on the bottom. Also it's microfiber so it can absorb a lot of water.


Monday, June 3, 2013

The Hard Life in Mexico Isn't All Bad


We are back in the water after four days in the boatyard. It feels good to be floating again. Every night when the Coromuels blew the boat would shudder and I had visions of us falling over.

Living in the boatyard wasn't so bad thanks to our freshwater-flush head and huge holding tank. Some people actually climb down the ladder in the middle of the night to go to the bathroom! During the day we collected wash water in the sinks and drained it at night when we were sure no one was under the drains.

We now have two coats of black bottom paint (with extra coats in all the important places), new flax in the stuffing box, freshly waxed topsides and most importantly a new cutless bearing (yup, that is spelled correctly - it's a brand name).  Unfortunately the cutless bearing we had bought in the US turned out to be the wrong size so we had to buy one here for twice the cost.

While the boat was being hauled out there was a lot of excitement on where to place the slings because the stickers were hard to see. Mike had the brilliant idea to stick blue painters tape where it can easily be seen from all angles making it easier for the yard crew. This is something we'll do before getting to the yard next time.

So, what does all this fun cost in Mexico? About 14,000 pesos in yard bills and another 8,000 for antifouling paint. In dollars that is around $1,700. Here is the breakdown. I'm curious how that compares to US prices? Would love to hear your comments!
  • $750 haul out / put in, all labor and consumables (same price if we had done the labor ourselves)
  • $120 new cutless bearing
  • $200 to build tool to pull cutless bearing without having to pull the shaft
  • $45 new propeller key (ours was falling apart - good thing we found it now)
  • $600 for 3 gallons of antifouling paint 

Curious about all of our cruising costs? Check out our Dinero page!

Marking the sling location
Pretty barnacles


Pressure washing

Keeping cool

Ice cream man

Removing the Cutless Bearing

Packing the stuffing box (where the propeller shaft enters the boat)

Wax-paper on slings so our new paint-job doesn't rub off when we get lifted back in the water

Safety First! :-)


Lunch at the beach bar next door with view of Camille in the travel lift


Friday, May 3, 2013

How Does One Week Turn Into Three?


La Paz, Mexico

We had planned on being in Mazatlan for one week. It took us three to get out of there and we finally made it to La Paz a couple of days ago. So what took so long?

When we arrived in Mazatlan our Yanmar had logged just over 1,000 hours; and since there is a Yanmar service center in Mazatlan we decided to have them help us with our 1,000 hour service. We believe that our engine is one of our biggest safety features and it needs to be treated with lots of TLC. So far "the beast" (our engine's serial number ends in 666) has treated us with nothing but respect in return. Knock on fiberglass.

A mechanic came by to remove our heat exchanger, fuel injectors and various other things to be serviced. Turns out we had some pitting in the heat exchanger and it would need to be sent to a machine shop to get welded. This was supposed to take a couple of days. After one entire week(!) and many inquiries of progress we were finally told that the heat exchanger won't take the weld and we would need a new part - and it would take at least 10 days to get the new part! This being Mexico there is no guarantee for that and 10 days is probably being overly confident as things tend to get held up in customs.

So rather than wait for the new heat exchanger to come to Mexico we took action. We ordered the part to be overnighted to the Yanmar dealer in Los Angeles and booked a flight for Mike to fly to LAX the very next day.

Since his trip coincided with the weekend, Mike had some spare time and was able to do some other shopping for us as well - such as Trader Joes's, REI and West Marine. Best of all, Mike's cousin Randy was headed to Cabo by van and was able to bring everything down for us (including a new battery), rather than Mike carrying it back on the plane. How about that for serendipity?!

If the machine shop had been successful we would have looked at a bill of about $700. Here are the numbers for what really happened. At least now we have a brand new part and lots of goodies from the US.

Air travel (using some air-miles): $270
Yanmar parts in LA (new heat exchanger, gaskets, misc): $1,300
Overnight shipping from east coast: $70
Rental car (three days): $85
Gas (for rental car): $46
Bill from Yanmar dealer in Mazatlan: $450
Boat moorage for two extra weeks beyond planned: $260
Total: $2,381

Of course there were other expenses like food and shopping but I'm not including those in this total. If you're interested in this month's total expenses take a look at our monthly expenses.

Our fourth crossing of the Sea of Cortez was a breeze. Literally. We even got to sail some in the south-westerly winds that appeared as forecast on our favorite weather website stormsurfing (check it out - this site has much higher resolution wind forecasts than other free weather sites).

Arriving in Bahia Balandra (10 miles from La Paz) after our crossing this was what we were greeted by: Sunrise to the east and a full moon setting to the west. Beautiful!


Sunset over the Baja peninsula

The ice-cream man in Bahia Balandra makes in-water deliveries

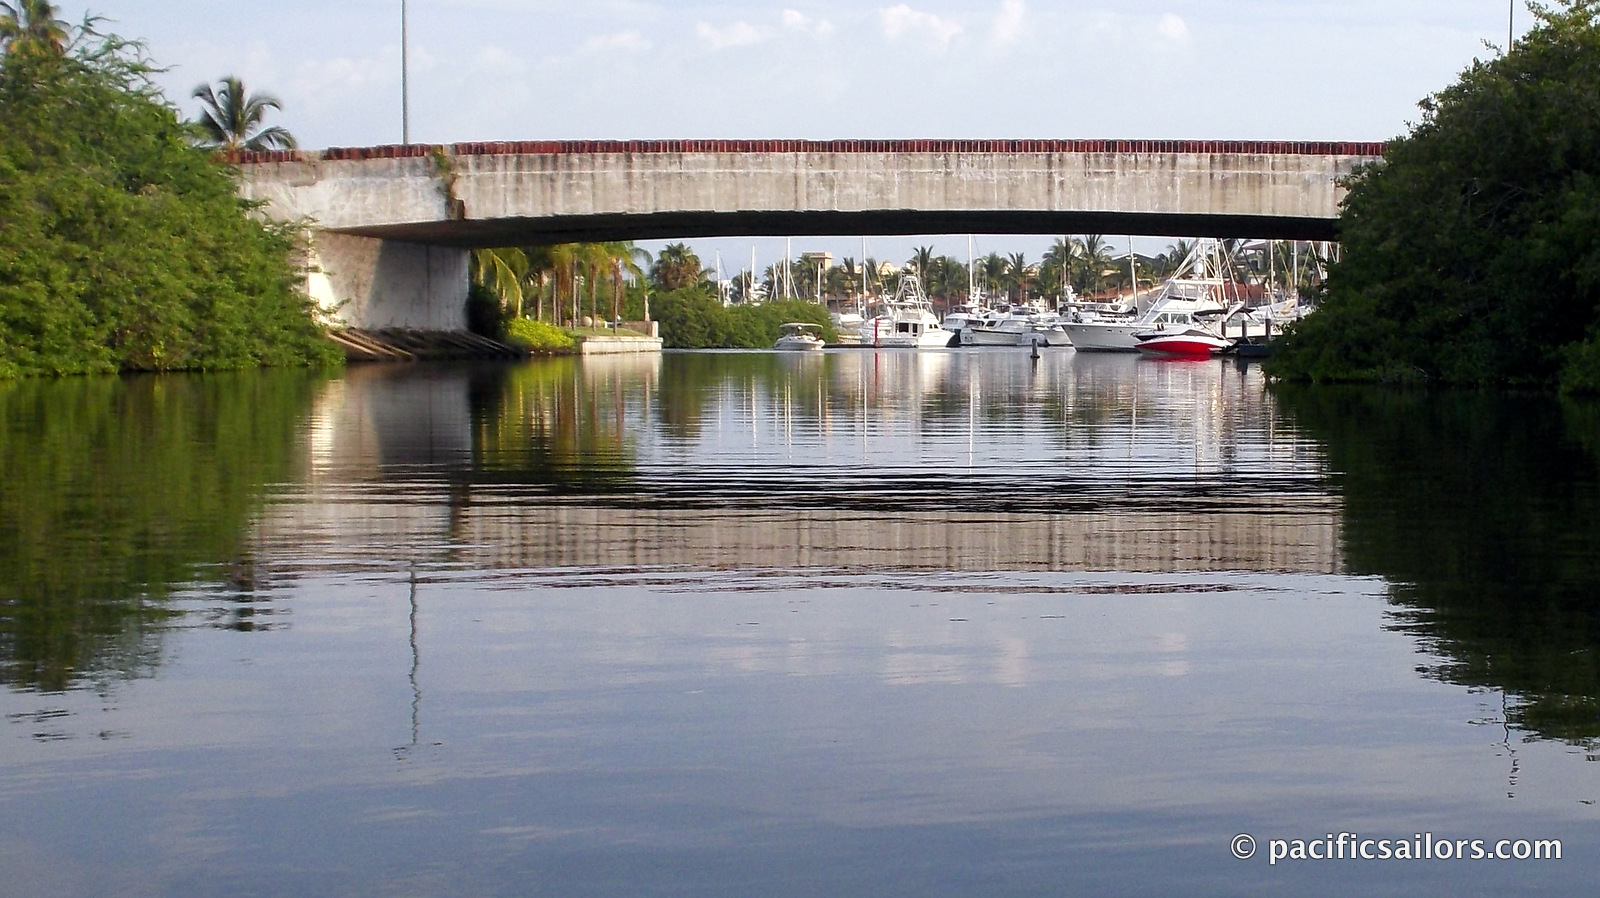
We're currently in a slip for just a few days to replenish food and fuel


Mission in La Paz (founded 1720, built 1861)


Goodies from the US

Wednesday, January 2, 2013

Well that just flew by - a year in review

After buying and moving aboard Camille Thanksgiving 2011 we set sail for Ensenada, Mexico just a short week later. With Ensenada being just a couple of hours from the border we were able to head back to California to easily buy gear we wanted to add to Camille.

January we celebrated Mike's birthday, continued installing gear like solar panels and watermaker, got a new dinghy, explored Ensenada and made countless trips back to San Diego.

After some final trips to San Diego to buy food and to sell the van we were finally ready to leave at the end of February. At the last minute we bought a used SUP which fit perfectly under the new solar panels. On our way south along the Baja Peninsula we arrived at our first anchorage in Turtle Bay.
March and Turtle Bay brought our first storm at anchor - and a sand storm to boot! When we finally made it out of Turtle Bay we sailed for Cabo. Our first warm water destination.


In April we sailed across to Puerto Vallarta on the mainland to meet up with my parents on their boat. A couple of weeks later we headed over to Mazatlan and then back across to Baja to start exploring the Sea of Cortez.


May brought our first visitors. Together with Mike's parents we explored the national park islands near La Paz.

In June we continued exploring the Sea, but with the start of hurricane season our time was running out. We visited some great anchorages as far north as Loreto and found a new use for the SUP.


In July we made our way back to Puerto Vallarta where we would be spending hurricane season. We beat against the wind to La Paz and then back across the Sea to Mazatlan. On our way to Puerto Vallarta we came across a sea turtle entangled in derelict fishing gear and were able to set it free!

In August we explored around Puerto Vallarta and spent a lot of time at the resort's pool. We rented a car and took a roadtrip into the mountains to get away from the heat.


In September we had special guests fly in for the TV series Travel Secrets Mexico and then my mom and I flew to Germany to visit family.


We spent all of October in California. The main reason was to upgrade and renew our captains licenses but also to get away from the heat. Now we are both 100 ton nearshore masters! We lived out of a rented mini van and visited every national park from the Mexican border to Yosemite.


November was spent waiting for the heat to subside - which it eventually did - in December. We finally got a sunshade between the bimini and dodger and spent lots of time on the beach.


In December Mike won third place in a SUP race and we spent Christmas with my folks who are still here as well.


With hurricane season finally over we had planned on heading south after Christmas. Right now I'm sitting here with a bad cough and it's pouring rain. We haven't seen any rain since the end of the rainy season in September and I haven't been sick since 2011. So I guess we're not meant to go quite yet. Oh well, maybe mañana....

Thursday, December 13, 2012

S.P.A.C.E.


I am a bit obsessed with organizing. I drive Mike nuts because I'm always "organizing his stuff away". I try to go through one area of the boat at least once a week, reorganizing and tossing things we no longer need.  On a boat there is not much space for any unimportant items.

Our "garage" is the guest bed, there are boxes of tools in our bedroom, and food and spare parts under our bed. As I'm writing this I'm sitting next to a pillow filled with spare blankets. We're surrounded by our stuff! Living in a house it was easy to put stuff out in the garage or into a closet. No need to look at it day in and day out.


The garage


When we lived on land we had a vacuum to keep the carpet clean and a big mop-like sweeper to keep hardwood floors clean. But what to do on a small boat with not much floor space and varying availability of electricity? You buy smaller versions of the same items - either rechargeable or 12 volt - the best is to have both!


Our boat came with a rather large upright rechargeable vacuum. Our first thought was to get rid of the thing. Mike already had it sitting on the dock to sell or give away. I brought it back aboard to vacuum the rugs and it hasn't left since. I use it everyday to sweep up and am grateful I kept it. So much easier than crawling around on the floor. The best part is that a little handhelp pops out to reach small spaces!


There are larger items than the vacuum on board, but this is the biggest item that we really could do without.


Do you need some help getting organized? I use the SPACE formula when I organize. To learn more about organizing check out books by the organizing expert who came up with this.


S - Sort - make piles of like items

P - Purge - get rid of what you don't need
A - Assign - assign every item a "home"
C - Containerize - use drawers or bins to keep like with like
E - Equalize - take 5-10 minutes every day to maintain


This post was written as part of a blog-hop. Visit the Monkey's Fist website for posts about this topic written by other cruisers or check out these topics:  

Why do we Cruise
Relationships Aboard
Pink and Blue Jobs Aboard
Provisioning
Fear
Swag and Approaching the Natives
Clothes and Laundry

Monday, December 3, 2012

Video | Dual Use Foot Pump


When we first moved aboard Camille, we added a freshwater foot-pump to our galley sink so we would have a backup if our pressure waterpump failed. The foot-pump also helps us conserve water and electricity while at anchor. But we haven't used it much. A cardinal rule of living aboard is that everything needs to serve at least two functions, so our foot-pump needed to become more useful.

What we needed was good drinking water, and while our watermaker makes excellent, very drinkable water, we are a bit leery of our water tank. In the marina we use water from the dock to refill our tank and buy gallon jugs of drinking water. At anchor we refill the gallon jugs straight from the watermaker. The jugs take up a lot of space on the boat and are creating way too much waste!

We decided to use the faucet attached to the foot-pump for drinking water by adding a carbon filter. Carbon filters are quite large and I wasn't really happy about losing space under the sink. (I'm sure by now you have seen the area under our sink....) After buying a new filter we noticed it looked a lot like a filter we already had on board: The filter we use to back-flush our watermaker. Boat-brain! Good thing we were able to return it.

We also wanted a way to be able to pump saltwater into the galley sink in case we really needed to save freshwater - washing the dishes takes up a big chunk of our freshwater supply. So Mike connected the foot-pump line to the raw intake for the watermaker with a tee connector. Check out the video to see just how he did this.


Thursday, November 29, 2012

Ring around the tub


Our current marina is located inside of an estuary. Filled with mangroves and even some crocodiles, the water has a visibility of about zero.  It's muddy and coconuts and other debris float by with the tide. Sometimes the coconuts knock against the hull and more than once have we thought somebody was coming to visit.

Camille gets pretty bad "ring around the tub" - what we call it when the white part above the waterline gets brown - and grows a lawn of marine freeloaders on her underbelly. All of this is not good for her gelcoat and fiberglass. If left too long it can leave permanent damage.

When at anchor in clean water, we usually scrub our own bottom (the part of Camille that is underwater) to remove marine growth. But in this water we let the professionals come out and scrub her up. At a dollar a foot it's really not a bad deal. Guillermo comes out with his team of helpers and the three of them get to scrubbing, scraping and poking for about an hour.

The divers also inspect the sacrificial anodes (commonly known as zincs because that is the material they are made of) and replace them as needed. Good zincs are very important because they work by dissolving (or sacrificing) themselves, before the piece of metal that they are attached to does due to galvanic corrosion. We have zincs attached to the propeller shaft and the strut which holds the propeller shaft.

We don't have much of a schedule for getting the bottom cleaned - just whenever the ring around the tub gets too ugly. How often do you clean your bottom? Do you have a set schedule or just wait until it needs to get cleaned?

Divers leave their dive tanks on the dock and use long hoses to breathe so they have better mobility.


Removing the ring around the tub

Monday, November 26, 2012

The big stink and boat-brain

View from our mast top

For a couple of weeks now there has been a peculiar smell every time I open the cabinet under the galley sink. At first I didn't think much of it and tried to remedy it by getting rid of an old sponge and looking for a leak for possible mildew. Everything was dry and clean. Odd.

Yesterday I decided to investigate further. Below the cabinet (in te bilge) is our main canned goods storage and I thought maybe a can of food had leaked. So I started removing all canned goods and washing them. Before breakfast. I figured it would be a quick task in the cooler part of the day and we could have breakfast after I was done. Au contraire. 

After removing all cans and deeming them in good condition the smell seemed to be getting worse. I started digging deeper and removed more items from the cabinet (wait, didn't I just do this last week?). Soon the entire galley was filled with stuff. Mike brought in the dock hose so "while we were at it" we could rinse the entire bilge. 

After much rinsing, scrubbing, spilling water and sniffing around we figured out that the big stink was coming from the sink drain hose. Apparently after 12 years it needs to be replaced. Who knew? So instead of putting everything back we went into town to try to find replacement hose. Of course they are not available at the local chandlery but luckily my folks are currently in California and will bring us some new hose when they get home. We finally did have some lunch in town. 

Lesson learned: Never think a boat project will be quick!

Do you ever get BOAT BRAIN? While I was soaking up the rest of the water from the bilge into a bowl I got a case of boat-brain. I dumped the entire contents of the bowl back into the galley sink - the galley sink we had just removed the hose from.

Mid-investigation

The inside of 12 year old galley drain hose. I promise I won't post our head hoses when the time comes....

I didn't want to leave you with that last image so here are some pretty palm trees